Reading text from images is a classic task that machine learning can help with. One way to solve this is obtaining thousands (or millions) of images, labeling them, and then training a classification model (e.g. Random Forest).
However, not everyone has the time or resources to go and label a bunch of images. In these circumstances, using a pre-trained model can be far more effective and efficient.
One such model is an open source model called Tesseract. This article will run through how to install it and start using it with Python (with Windows).
Installing
- Start by downloading the Tesseract compiled engine. I am using the v5.0.0 binary in this article.
- Once downloaded move the downloaded file to an easy to access folder. I put mine in
C:/Program Files/Tesseract-OCR/so the executable is inC:/Program Files/Tesseract-OCR/tesseract.exe. - Now you need to install the relevant python libraries. There are just two (pandas is an optional third to put the parsed text in a structured place).
!pip install opencv-python !pip install pytesseract !pip install pandas
That’s it! Now you are ready to read some text.
Analysing images
The first part of the code is importing libraries and pointing pytesseract to where the executable lives.
import cv2
import pytesseract as pt

pt.pytesseract.tesseract_cmd = r'C:\\Program Files\\Tesseract-OCR\\tesseract.exe'
The helper function we’ll use to read an image before printing the result is very simple. It simple uses cv2 to read the image and then uses the image_to_string method in pytesseract to try and parse the image.
def read_img(img):
    img = cv2.imread(img)
    return pt.image_to_string(img)
Tesseract works best with simpler fonts (i.e. sans-serif fonts), good resolution and minimal extraneous noise. Let’s explore a few images and their results.
Image one
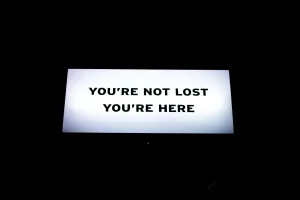
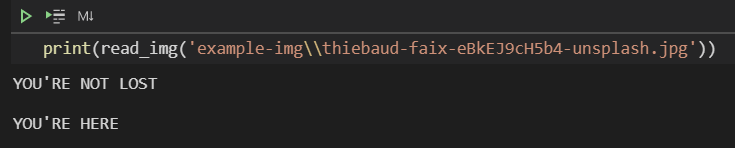
This worked perfect! How about another example with a bit more going on.
Image two
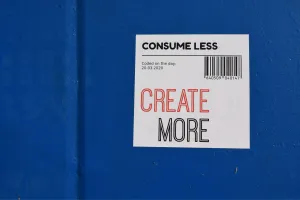
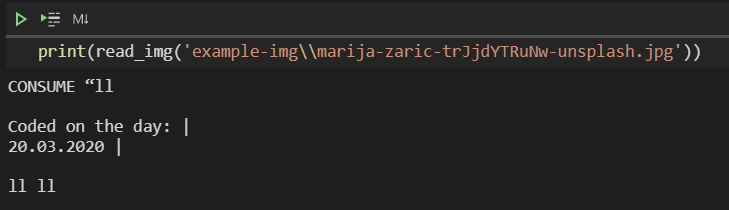
Not as good as a result but it still picked up some things. It was happy with the sans-serif font giving the exact day it was coded and it saw the word CONSUME but not LESS, and also not the fancy font of CREATE MORE.
Image three
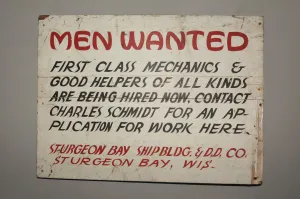
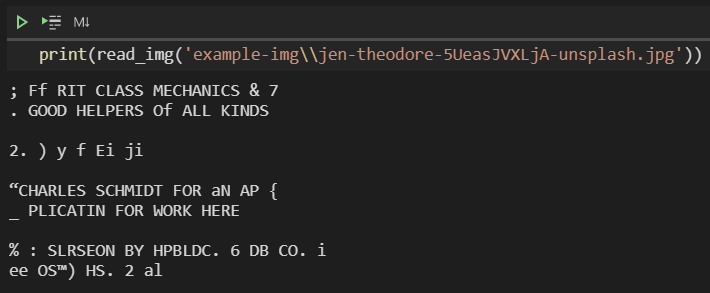
Fairly mixed here. Considering the stylised font it’s done a decent job. It gets most of the first two lines. Completely misses the third line (perhaps because of the faint line through the line) and gets the fourth and fifth lines. The address in red at the bottom has a fair few errors though.
Image four
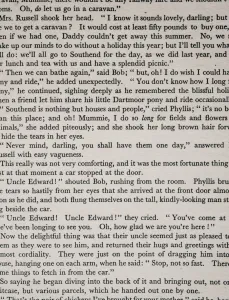
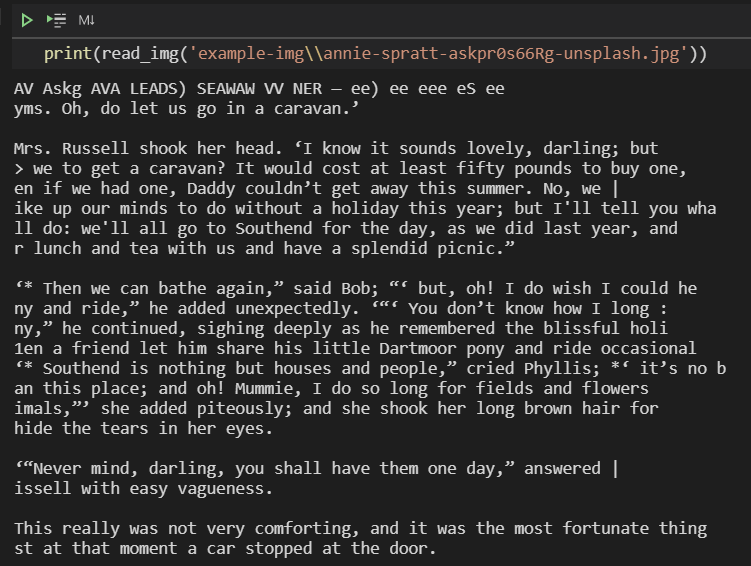
This is an example where tesseract does very well. Considering it is a cropped image of a page in a book, pretty much everywhere where it gets a full character or word it transcribes accurately. This reflects the image having words in a structured format, all similar size and with good contrast between the page and the text.
Next steps
There are some things you can do to improve the output. Preprocessing images by converting to black and white, cropping out any unnecessary parts of the image and improving resolution (if possible) are all helpful.
Check out my github repo for the code run in this article, as well as more techniques applied on a different dataset.